Bespoke Jewellery - The stages of how we made this bespoke fox pendant
Posted on
|
A Bespoke Fox Pendant |
|
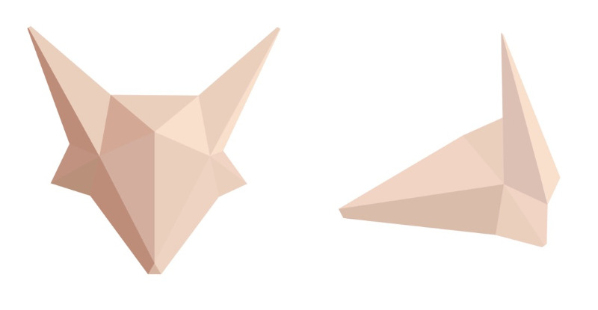
We had a couple of weeks to make a bespoke fox pendant for a customer, below is his very impressive sketch that we worked from. |
 |
|
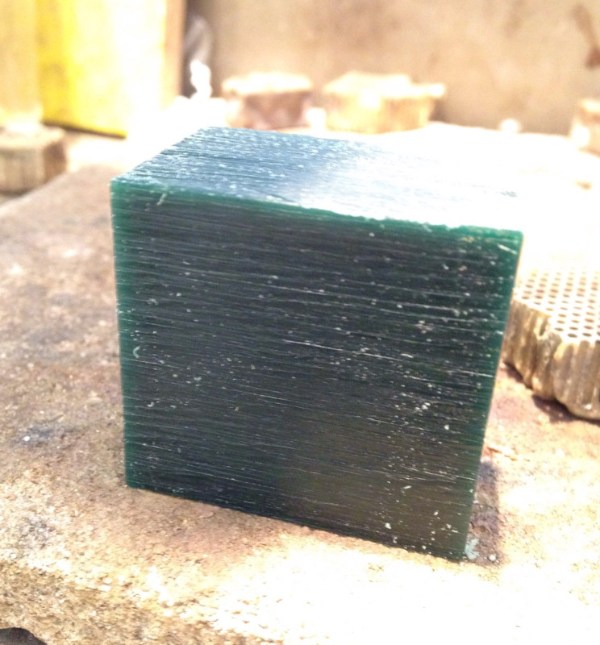
The front view was fine but the customers technical drawing of the side profile wasn't correct and match the from vie so we had to fine tune it. To make the fox we decided to work in wax, because it's softer and easier to carve than metal and keeps the cost down for the customer. When faced with a block of wax it is much like a blank canvas, you have to map out perspective lines and mark where you need to take away the wax. |
 |
|
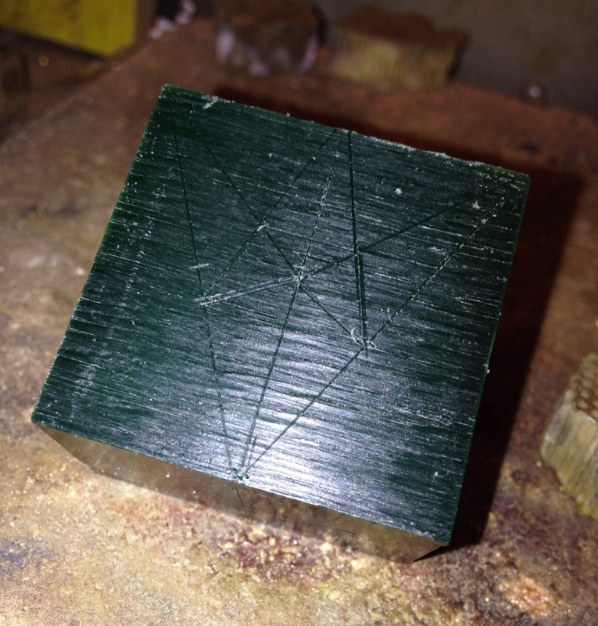
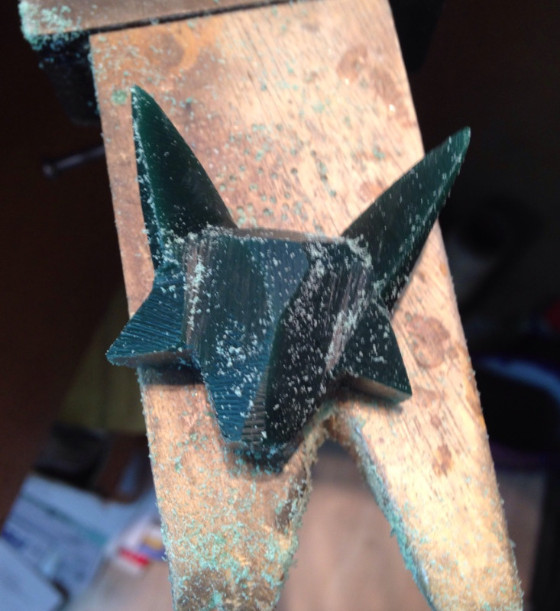
Below you can see the marked lines where we started to sculpt the head, trying to keep it perfectly even and symmetrical on each side is very tricky when creating geometric designs like this one. It is essential to take a little piece away at a time to slowly see how it will look in 3D. |
 |
 |
|
After the initial form is made it becomes easier to see how the fox is going to look, we now start to even up all the edges and sharpen them up so that they are clear, precise and geometric, even a line that is a tiny bit curved is very noticeable when the fox is made into metal. When creating a piece of jewellery in wax you have to completely finish it how you would in metal because any dust, scratches or holes will be even more difficult to get out in silver. Now the fox head has been carved it is time to get it cast. |
|
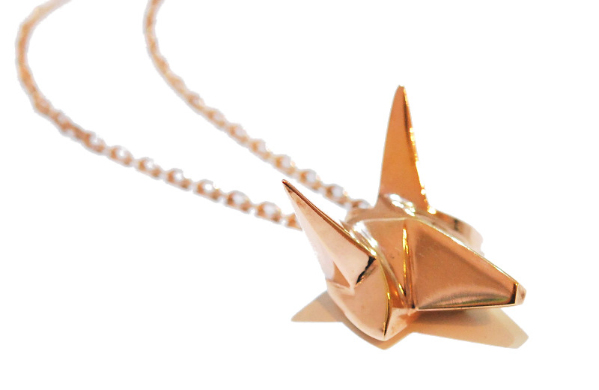
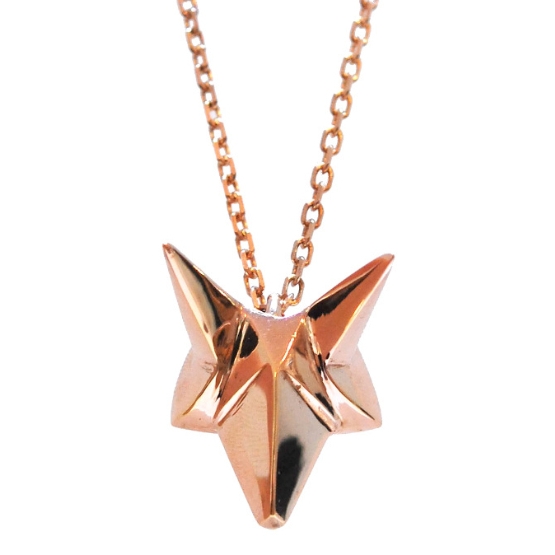
Once the fox had been made into silver we cleaned and polished it up, and took it to the platers where they added a layer of 18ct rose gold vermeil, we then added a diamond cut geometric chain to finish it off. We think he is fab and would love to make some different geometric animal heads. |
 |
 |
| For more inspiration take a look at our bespoke jewellery page... |

Add a comment: